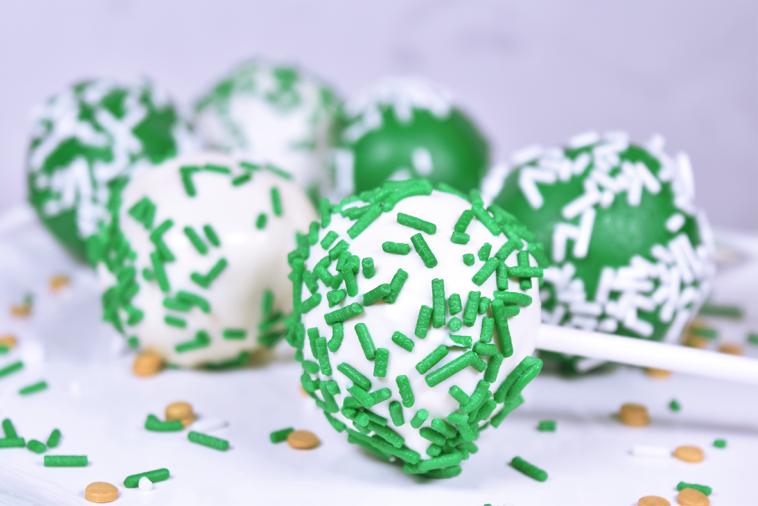
Lucky Green Cake Pops
Can you name a better way to celebrate St. Patrick’s Day than cake? Yes! Lucky green cake pops made with 100% Canadian milk!
- Prep: 30 minutes
- Cooking: 40 minutes
Ingredients
- 1 box white cake mix (430g) plus required ingredients as per package
- 1 cup (250 ml) green cream cheese frosting (recipe below)
- 2 ½ cups (625 ml) white chocolate melting wafers
- ¼ tsp (1 ml) green gel food coloring (you can add more as needed, depending on the shade of green you would like)
- Green Cream Cheese Frosting
- ¼ cup (60 ml) unsalted Canadian butter, softened
- Half a brick (125 g), of Canadian cream cheese, softened
- ½ tsp (3 ml) vanilla extract
- ¼ tsp (1 ml) salt
- 2 cups (500 ml) powdered sugar
- 2 tsp (10 ml) green gel food coloring (you can add more as needed, depending on the shade of green you would like)
- Serve with
- Sprinkles
- Additional Items
- Egg carton - reuse an old egg carton to dry and set your cake pops after dipping!
- Lollipop sticks

READY FOR REWARDS?
Sign up for our new More Goodness program for exclusive offers, recipes, contests and more.
Preparation
Cake
Prepare and bake the cake according to the package directions for a 9-by-13-inch pan. Let cool completely.
Green Cream Cheese Frosting
Combine Canadian butter and Canadian cream cheese in the bowl and beat until creamy, and lump-free.
Add vanilla extract and salt and stir well to combine.
With the mixer on low, slowly add powdered sugar until completely combined.
Cake Pop Assembly
Flip your egg carton upside-down, then pierce a hole through each dome. Ensure to make your holes smaller than the width of the lollipop stick so that the stick will be snug. This will help ensure the cake pops will be stable while drying.
Once your cake is completely cool, crumble it in a large bowl.
Add a few spoonfuls of your green cream cheese frosting and use your hands to combine. The dough should hold together if squeezed. If it’s still crumbly, stir in a bit more frosting.
Using a cookie scoop, or a spoon, scoop out the mixture and roll into a ball. Aim to create ½-inch to 1-inch width balls. Repeat until you’ve used all of the mixture, about 24 balls.
Melt ¼ cup of the white chocolate melting wafers in a microwave at 50% power while stirring regularly every 30 sec. Watch closely to ensure that the wafers do not burn.
Dip the end of the cake pop stick into the melted chocolate and push that same end into the cake ball. The melted chocolate acts like a “glue” to help the cake ball stay attached to the stick. Once each ball has a stick, place them in the freezer to harden for about 20 minutes.
In a microwave, melt the rest of the white chocolate melting wafers using the same method as above. Watch closely to ensure that the chocolate wafers do not burn. Separate the melted white chocolate wafers into two separate bowls. Add your green gel food colouring to one of the bowls.
Remove 2-3 cake balls from the freezer at a time. Dip the cake ball into the melted white chocolate wafers until it is completely covered. You can gently tap the stick against the edge of the container to remove excess chocolate.
Decorate the cake pop with sprinkles. When finished, prop the sticks of the cake pops in the egg carton holes to dry.
Repeat with remaining cake balls. Make sure to only do a few at a time as the cake balls must be very cold when dipping them into the warm chocolate.