Milk Carton Gift Boxes
List
Homemade means made from the heart! Here is a fun and festive way to upcycle milk cartons and reuse paper grocery bags to create mini gift baskets, perfect for homemade treats and goodies.
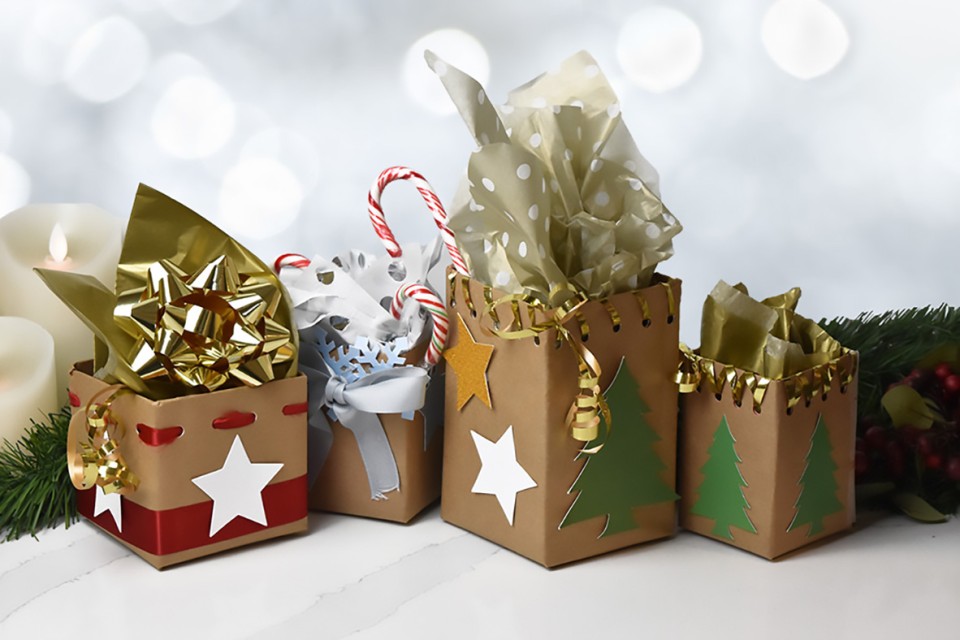
In this step-by-step guide, we'll show you how to transform ordinary milk cartons into charming DIY gift boxes. Join us on a creative project that not only upcycles materials but also adds a personal touch to your gift-giving experience.
Equipment needed:
- Canadian Milk carton
- Brown kraft paper or grocery bag
- Double-sided tape
- Regular tape
- Hole punch (optional)
- Scissors
- Ruler
- Pencil
-
1. Clean & Cut
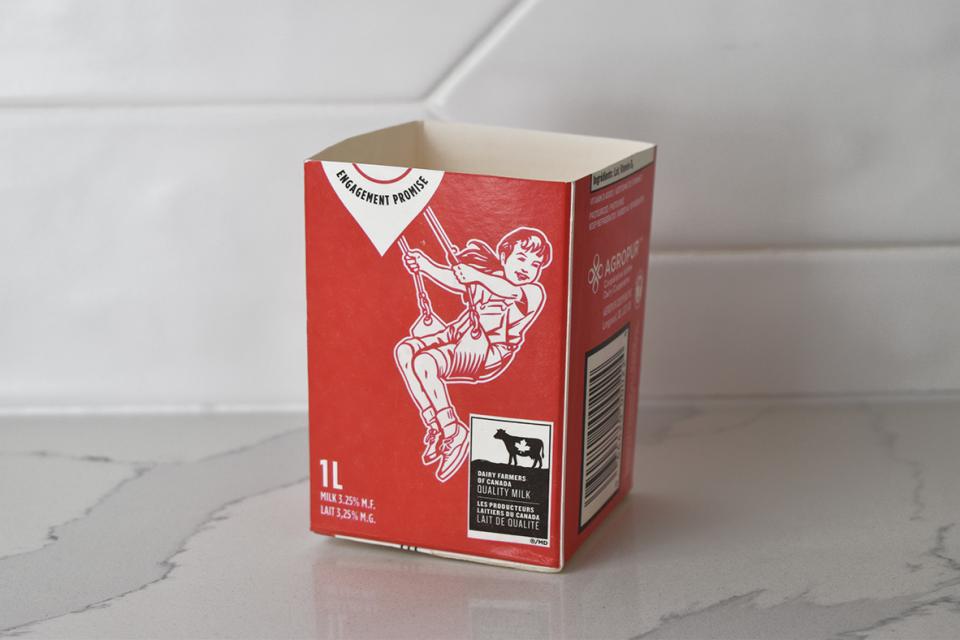
Thoroughly clean the Canadian milk carton. Adjust the height of the Canadian milk carton by cutting off the top portion to your desired level.
-
2. Wrap with Paper

Wrap the Canadian milk carton with brown kraft paper or repurpose a brown grocery bag. Ensure the paper is wide enough to cover the carton's bottom and can fold over the top by about an inch or two. The paper's length should be enough to wrap around the carton. Attach the paper to the carton's side with tape. Wrap the paper around the carton, fold, and secure the bottom portion similar to wrapping a gift.
-
3. Create Flaps & Fold

Before folding the upper edges of the brown paper over the carton's lip, make a slit in each corner of the brown paper, extending down to the carton's edge. This creates flaps that you can fold down.
-
4. Tape Flaps & Punch holes
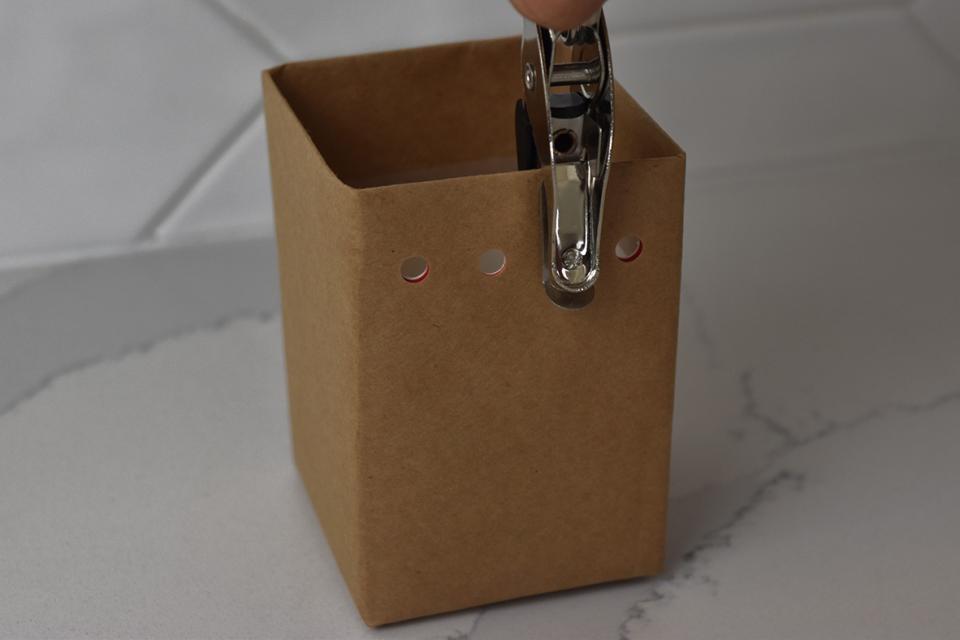
Fix the flaps over the carton's edge using tape. Optionally, use a hole punch to create holes along the upper edge. Customize the spacing of the holes; for example, you can opt for four holes on each side and one hole on each corner. If planning to weave ribbon or jute around the top, you can skip this hole-punching step, depending on your preferences.
-
5. Decorate
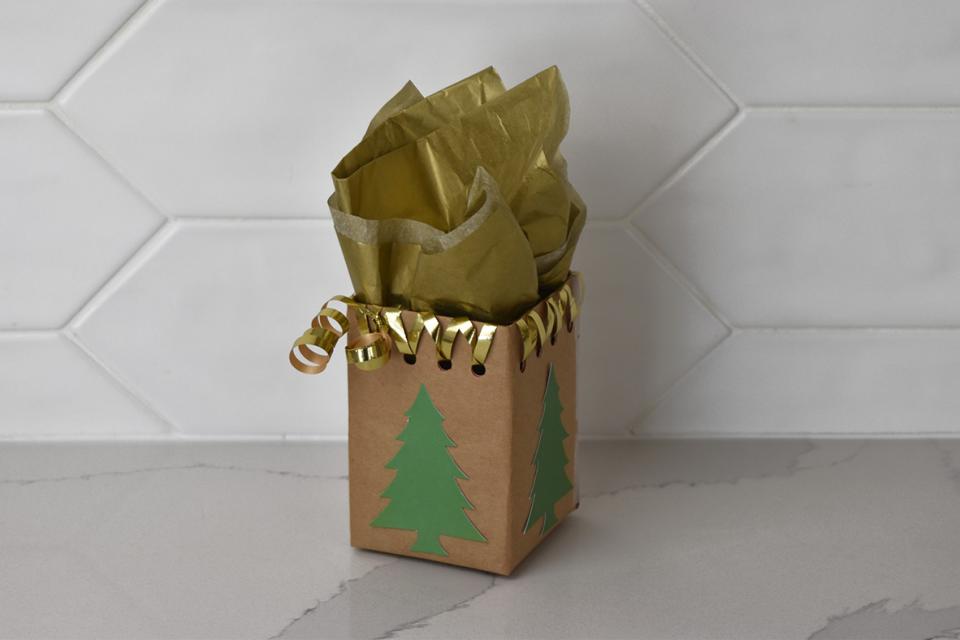
With these steps completed, your gift box is now ready for decoration. Feel free to decorate the box according to your preferences.
Homemade gift wrapping has a unique charm and warmth that store-bought gift boxes can never quite match. By upcycling milk cartons and paper grocery bags, you not only reduce waste but also infuse your gifts with a personal touch that speaks volumes.
So the next time you want to give a special treat or surprise a loved one, consider crafting your own milk carton git box with this simple yet delightful project. Remember, homemade means made from the heart, and that's a gift that will always be cherished. Happy crafting and happy gifting!